1 Idea Friday 7- Diy Bracelets

Hello!

It's Constance again! Even though I am in Quebec or New York, whatever. Didn't time this post perfectly. For some reason, I feel like I am writing a will... Anyway! Today's Idea Friday again! Our theme is diy bracelets, and since I love making jewelry (but not wearing it), I found 15 ideas.


They say hex nuts are a girl's best friend, which is probably why there are three ideas with hex nuts. Oh well. So what are we waiting for? Here we go!

Hemp bracelet
Super comfy and colourful. In the tutorial, there are multiple hemp bracelet patterns to follow.

Diy edgy safety pin bracelet
Wow, this is makes a real fashion statement! Love the multicoloured beads.
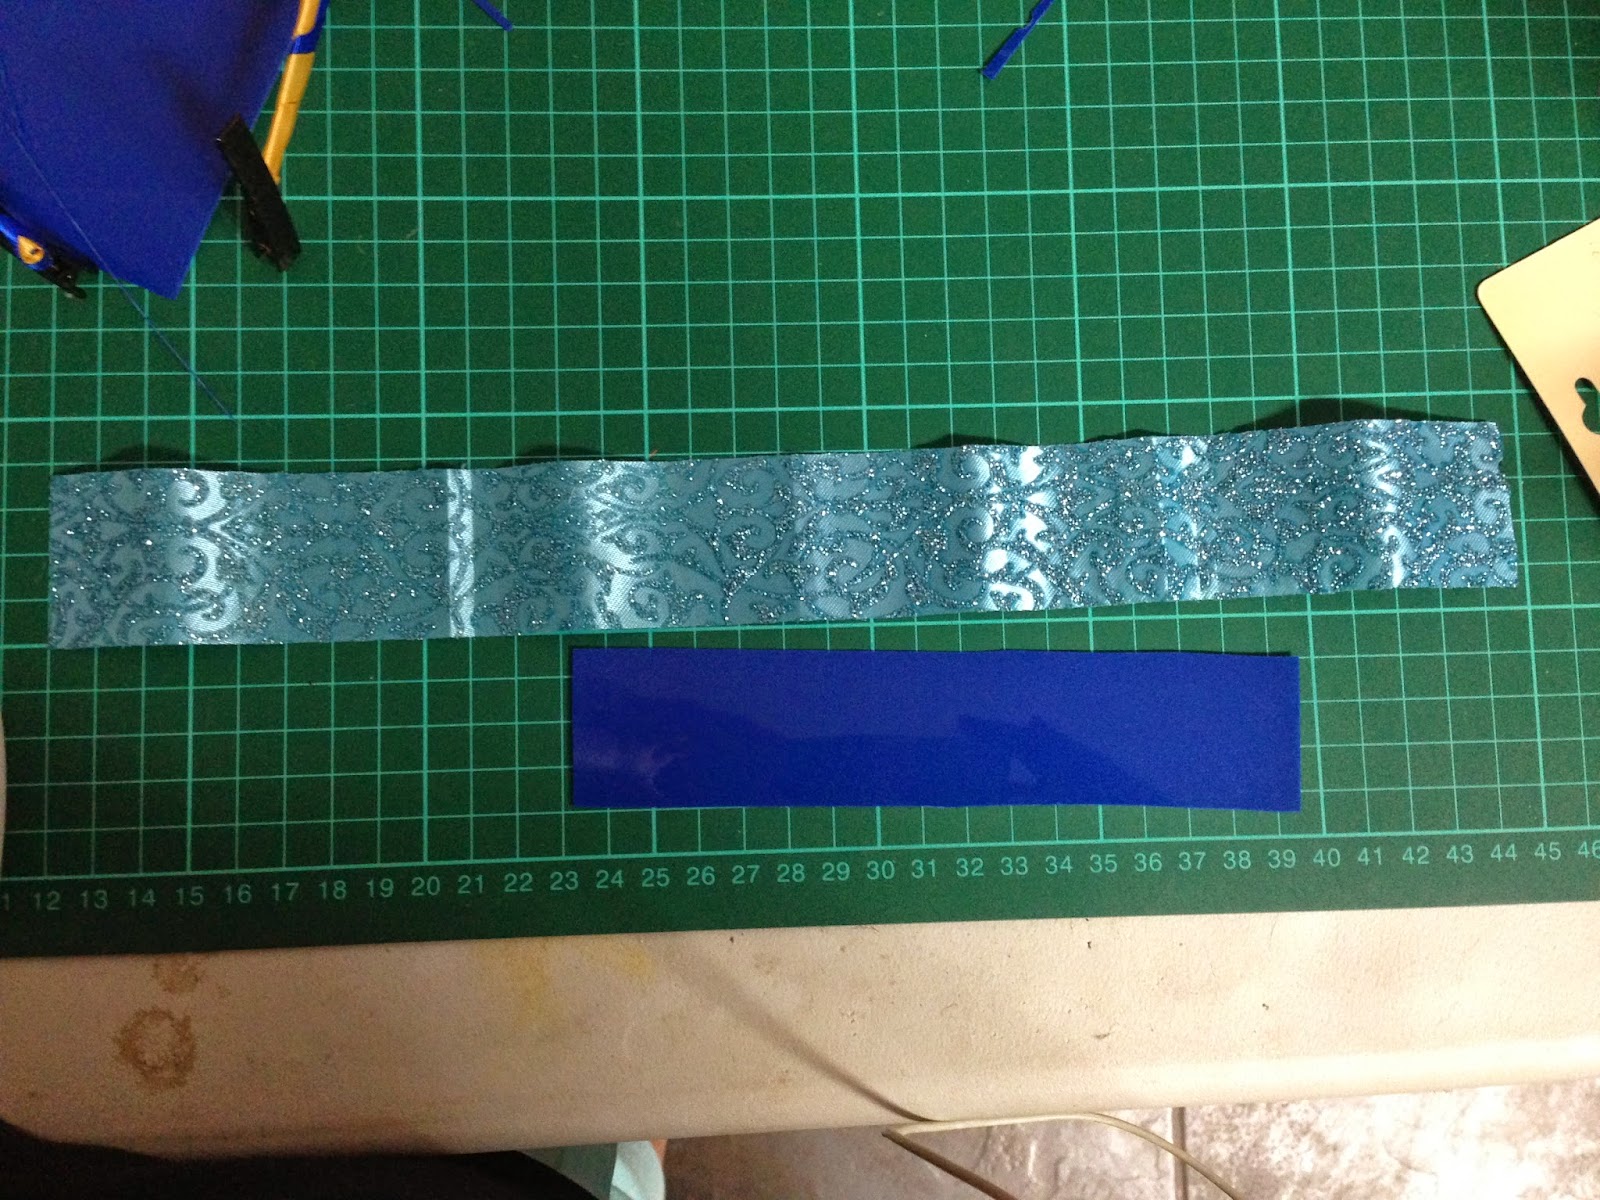
Lace trim bracelet
Wearing a bunch of these on your arm would look amazing.

Diy macrame bracelet
Oh, these are so elegant.

Stylish keychain bracelet
The braid looks so funky against the old keychains.

5 ways to make zipper bracelets
Five awesome and unique bracelets, all made of just zippers. They look great on your arms all at once!

Diy lanyard bracelet
I just love how they creatively mixed and matched all lanyard and keychain.
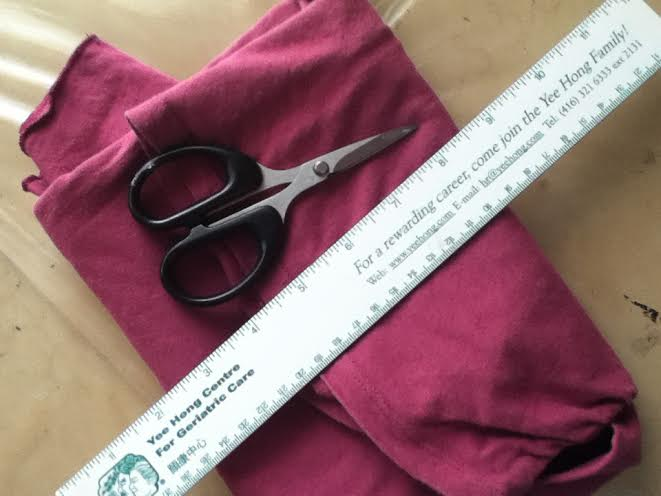
Sweater bangle
Wool bangles just look so cozy.

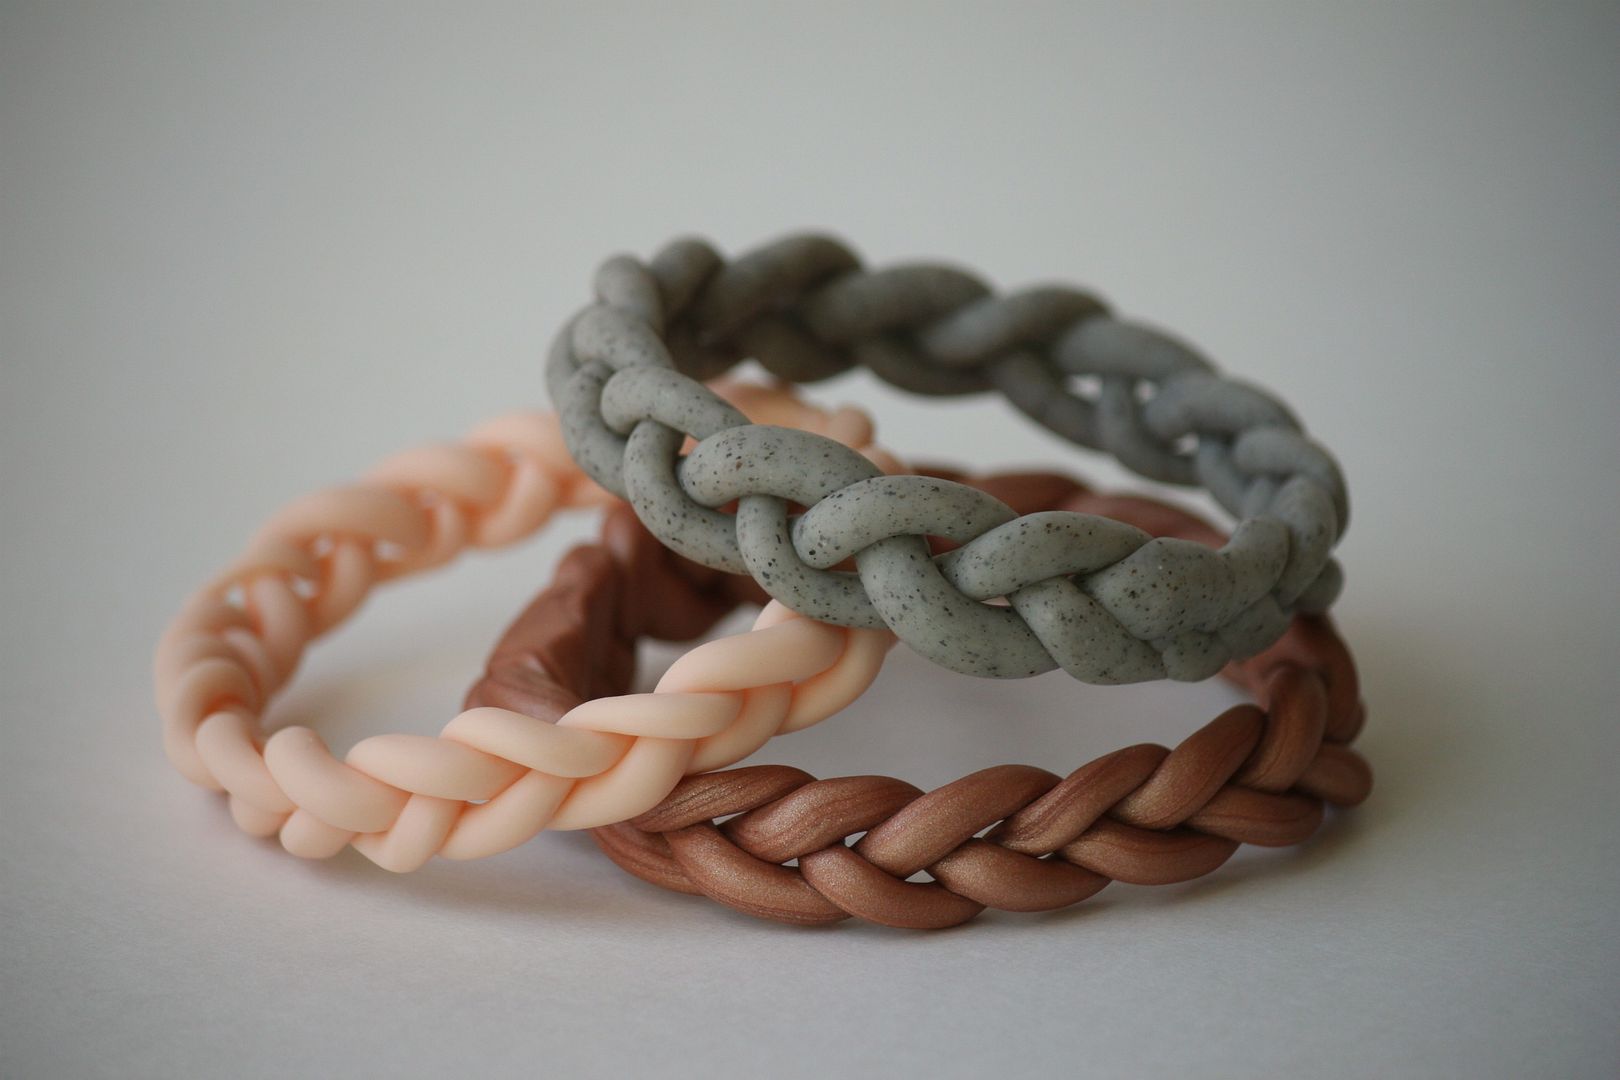
Diy braided clay bracelet
Beautiful. They have such a classy, clean appearance.

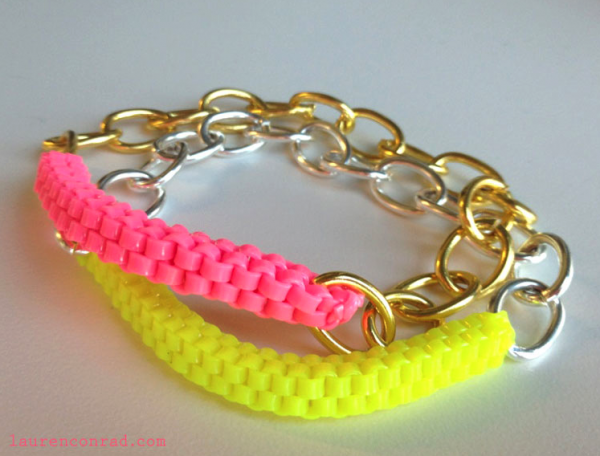
Diy fishtail bracelet
Yep, stack' em up. Arrange them all in a rainbow!

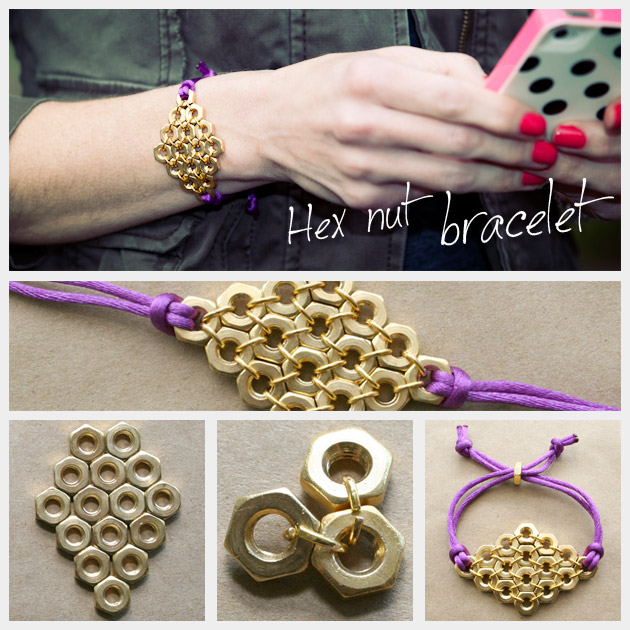
Hex nut diamond bracelet
This bracelet would look really glamorous on some dark clothes.

Diy summer yarn bracelet
Everyone loves layering charms on bracelets...

Beaded leather wrap bracelet
These are really chic and vintage style!

Transparent cuff
This gives a cool, modern look to any outfit, especially with white nail polish.

Fabric wrapped bracelet
An easy, but super cute bracelet you can make in less than five minutes.

And that's it for today's Idea Friday. I think I'd like to try the safety pin diy bracelet, although it'd take hours! I hope you guys have got your daily dose of inspiration. See ya soon,


1 Project of the Week 11- Pink Gown

Hello!

It's Constance again for the eleventh project of the week!


This time, I did a watercolour painting of a girl in a pink gown, inspired by One Paper Addict's fashion illustration. Here's the process.

First, I started off with an outline of her figure, in pencil, on watercolour paper.

1 Project of the Week 10- Tissue Paper Ballerina

Hi...

It's RuoBing again for the tenth project of the week.


This time, my project will not be a diy, but a sketch I did this week. It's a cute ballerina with a tissue paper dress and hair bow tie. There aren't any steps pictures though... Just wanted to share this.


3 Idea Friday 6- Dazzling Light Fixtures


Hello!

This is Constance again, and I haven't posted in... forever. I'm really sorry about that. This has been one really insane week, and RuoBing was away on a trip for the past few days. Yes, this post is two days late, but you can still gather some great ideas from it.


Today's Idea Friday theme is diy light fixtures! Last time, RuoBing did hers on easy ways to decorate your room, and I really loved this vintage globe light. I decided to go more into detail and find 8 more great ways to make dazzling light fixtures! Here we go.

Diy pendant light
Tutorial
A very easy idea for a country side themed room.
Bubble chandelier
This chandelier is quite tricky, and not exactly a diy, but the effect is absolutely stunning.

0 Project of the Week 9- Diy Jean Back Pocket

Hello!

This is Constance and it's my ninth project of the week! Today's tutorial will be very fun.


And I will be sharing this super easy jean back pocket diy tutorial. It can be done in about 10 minutes, so I rated this tutorial difficulty a...


I was inspired by a previous Idea Friday, which you can see here. I basically followed the tutorial from the braided neck t-shirt from Her New Leaf, which you can find here, except I sewed it onto the back pocket of my jeans (which I felt were in serious need of decorating).

What you'll need


-sharp fabric scissors
-needle and thread
-an old pair of jeans

0 Google Comments

Hello!

I recently turned on this slightly annoying feature on Blogger called "Google Comments." It basically mixes in the comments on the blog from Google Plus with the regular comments that come from the blog. Sounds pretty good, right?


2 Idea Friday 5- Easy Ways to Decorate your Room

Hey once again, this time for Idea Friday, it will be RuoBing guiding you through, instead of Constance. The topic of this Idea Friday has been decided on by both of us, and is a topic we both adore and wish to talk more about. The topic will be on ways to efficiently and effectively decorate a room using simple arts and crafts skills.

Globe light
Tutorial
Having a globe light certainly gets you into the studying mood.

Paintbrush vase
Tutorial
This paintbrush vase is so classy, and complements the flowers nicely.

1 Guest Tutorial: Kym's Diy Bookmarks

*WARNING: IMAGES MAY TAKE A WHILE TO LOAD*

Hello, again!

This is Colourful Decorations's first guest post/tutorial! On twitter, I saw some great bookmarks Kym (@pure1991pure) made, and I asked her to make a tutorial for this! It looks great, and I will definitely be trying this out.

Tutorial


Step 1: Start off with a ribbon of your choice and a strip of plastic (best to use a forum plastic or cardboard because this will go in the meddle to keep your bookmark forum and flat). The length of your plastic will be the length of your bookmark, make the ribbon long enough to go around the whole plastic and overlap a little at the ends. The pick where I'm holding back a little bit of the ribbon is to show that the ribbon is overlapping at the end, and I will explain what I mean at the top. 

0 Diy Braided Headband

Hello!

In this diy, I, Ruobing will be guiding you through the tutorial of this amazing braided headband! These headbands are stretchy, comfortable yet attractive at the same time. An amazing 20 minute job will have you this headband, fitting for hair up and hair down. Sorry, this is my first tutorial, so it might not be the greatest.... But it's pretty simple, so the tutorial difficulty is only 2!


What you'll need


-An old/used shirt, any colour would do 

-Scissors 
-A ruler
-A marker (not shown in picture above) 
-A needle and thread (not shown in picture above)

2 Project of the Week 8- Diy Sock Puppet

Hello, again!

Who loves.... sock puppets? I bet you do, and so do I. So that's what we're going to make for my eighth project of the week. And guess what? This is another diy, which means you can make this all by yourself at home!


What you'll need


-sharp scissors
-a small, stiff board (should be the size of your hand or larger)
-liquid glue
-miscellaneous fabric (the colour of the puppet's tongue)
-two buttons
-whatever extras you want to put on your puppet (eg. pipe cleaners, rabbit ears, etc)
-needle and thread
-and of course, a sock!

2 A New Author: Ruobing!

Hey, guys!

My friend, Ruobing, has now joined this blog! She loves being creative as much as I do, and we're both really excited about this new partnership, because this is one of our common interests. You'll be seeing more of her soon, but here's a short introduction from her so far.

0 Finally Done- Again!


Hello, there.

This is my third acrylic painting and I'm really proud of it. I'm finally done-again, like in Finally Done ;). It took about 8 sessions, or 24 hours in total. Just wanted to share this with you guys! Thanks for your support.