
*WARNING: IMAGES MAY TAKE A WHILE TO LOAD*
Hello, again!
Hello, again!
This is Colourful Decorations's first guest post/tutorial! On twitter, I saw some great bookmarks Kym (@pure1991pure) made, and I asked her to make a tutorial for this! It looks great, and I will definitely be trying this out.
Tutorial
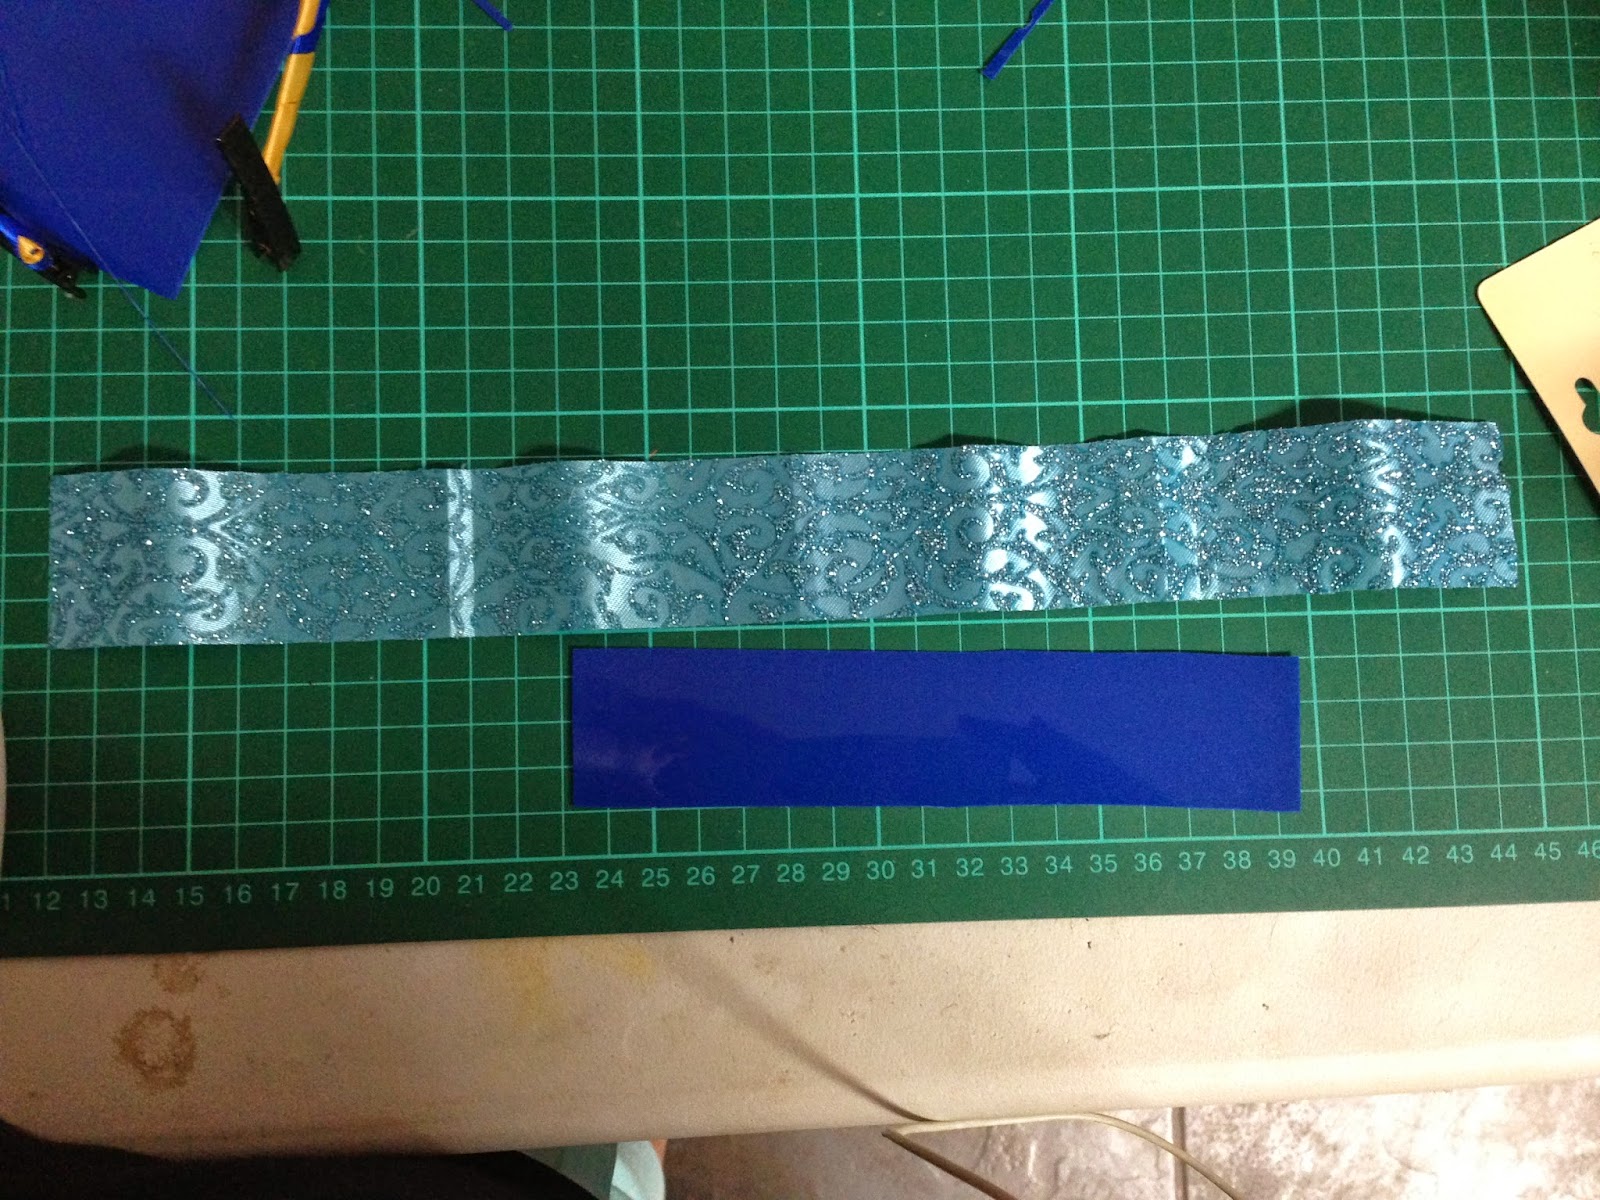
Step 1: Start off with a ribbon of your choice and a strip of plastic (best to use a forum plastic or cardboard because this will go in the meddle to keep your bookmark forum and flat). The length of your plastic will be the length of your bookmark, make the ribbon long enough to go around the whole plastic and overlap a little at the ends. The pick where I'm holding back a little bit of the ribbon is to show that the ribbon is overlapping at the end, and I will explain what I mean at the top.
Step 3: Now all you need to do is glue the whole thing together (I find that a strip of glue through the meddle should be enough. You can put more but know that if your ribbon is thin you will see the glue through the ribbon. At the last bit of gluing, make sure you glue the ribbon to overlap. This will make it stay in place more.
Step 4: Now you have the main body of the bookmark time to decorate. Chose a small strip of ribbon that will be the hanger and something nice that will make your bookmark look pretty. Make sure that you burn the ends of all the ribbon you use, this will stop the ribbon from coming apart. Fold your small hanger strip ribbon in half and then sew it to the top of the bookmark (end without glue) after sewing it on all you need to do now is glue on your that little "something" that is going to make your bookmark look good.
I did some different ones too (the ones with a strip of ribbon down the meddle) but their just the same but instead of a short strip hanger ribbon make it long enough to go around the whole bookmark and to make the loop at the top. And instead of sewing it on, you glue it on.


Kym's tutorial is great, and simple to follow! I'll be trying this out soon. Happy bookmarking,

Kym's tutorial is great, and simple to follow! I'll be trying this out soon. Happy bookmarking,
Hey Constance, love the blog! Just wanted to tell you that the pictures for this post are missing. You should try uploading the pictures instead of using private URLs.
ReplyDelete-Blogger at www.thelastpageatmidnight.blogspot.ca